

How to properly contour the face: a step-by-step guide for beginners
Have you ever looked at Hollywood stars on the red carpet and thought, "Why do their faces look so perfectly sculpted, as if carved from marble?" The secret is not in plastic surgery (though sometimes it is), but in the virtuoso mastery of makeup techniques. We're talking about face contouring—the art of sculpting that can transform your appearance in just minutes. It's not magic, but pure optics: light makes features wider and more voluminous, while shadow narrows and deepens. By mastering this technique, you can correct the oval of your face, highlight your cheekbones, reduce the appearance of your nose, or visually lift the corners of your lips. In this article, we will break down a step-by-step algorithm for beginners, so you can feel confident with a brush in hand.
What is contouring and why is it needed?
Contouring (also known as sculpting) is a makeup technique based on the play of light and shadow. Dark tones (sculptors) create depth and remove excess, while light tones (highlighters) attract attention and add volume. Together, they work wonders: with their help, you can make your face more symmetrical, hide signs of aging, or simply give your skin a healthy glow. The main rule to remember from the very beginning is: "warm for warm skin tones, cool for cool." If you have a pink undertone, choose sculptors with a grayish tint, and if you have a yellowish undertone, go for warm brown shades.
Before grabbing dark stripes and light sticks, you need to prepare the "canvas." A quality makeup base is half the success. On unmoisturized or poorly primed skin, contouring will apply in patches and look unnatural.
Skin preparation: the foundation for sculpting
Any professional makeup artist will tell you: contouring starts not with applying dark stripes, but with skincare. Your skin should be clean and moisturized. Apply a light cream or serum and let it absorb for 5-10 minutes. Then use a primer—it will fill in fine lines and pores, creating a perfectly smooth surface. Without this step, even the most expensive sculptor will emphasize flakiness.
The next step is foundation. It's important that its shade matches your skin color as closely as possible. Apply it in a thin layer, blending the edges carefully on your neck and hairline. If you're using thick foundations, your face may look flat—this is normal at the start; it's this flatness that we will bring to life with sculpting.
Choosing the texture: cream or powder?
For beginners, this question is particularly pressing. Cream textures (sticks, cream palettes) provide a more natural finish and are easier to blend, but they require skill and time. Dry (loose or pressed powders) forgive more mistakes but can look like a mask under bright lighting. The golden mean for beginners is a cream sculptor and a powder highlighter. This way, you'll get both durability and a soft effect. Start with one or two areas (for example, cheekbones and nose) to get used to the technique, and only then move on to full face sculpting.
Step-by-step contouring application technique
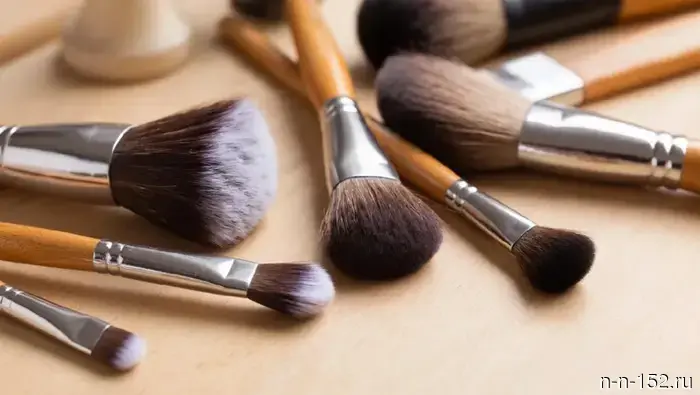
Let's move on to the most important part—the step-by-step algorithm. Prepare your products: a dark sculptor (2-3 shades darker than your skin), a light highlighter (1-2 shades lighter), and several brushes. For cream textures, it's better to use synthetic brushes with dense bristles or a damp beauty blender (sponge). For powders, use natural barrel brushes.
Step 1: Cheekbones—the main line
Suck in your cheeks to find the natural hollow under your cheekbone. This is where you need to apply the dark stripe. Draw a line from the middle of your ear to the corner of your lips, stopping about 2-3 centimeters short. Don't draw the line too low—it will droop the corners of your mouth and age your face. The line should be clear but not thick.
Step 2: Nose correction
To correct the shape of your face through your nose, draw two thin lines on either side of the bridge from the top to the tip. If you want to visually narrow your nose, the lines should be closer to the center of the bridge. If you want to shorten it, darken the tip of the nose from underneath. This technique requires special care in blending to avoid leaving dirty stripes.
Step 3: Temples and hairline
Apply the sculptor along the hairline on your forehead (in the center and on the sides) and on your temples. This will visually narrow a wide forehead and make the oval more harmonious. You can also slightly darken the lower jaw if you have a double chin or a heavy jawline.
Step 4: Light accents (highlight)
Now take a light concealer or highlighter. Apply it to the following areas: the center of the forehead, the bridge of the nose (between the dark lines), the area under the eyebrows, the middle of the chin, the upper part of the cheekbones (above the dark stripe), and the inner corners of the eyes. Light attracts the eye, so these areas will appear more prominent.
Step 5: Blending—the most important step
This is the moment when your face either shines or turns into a map. Start blending from the dark areas, moving to the light ones to avoid mixing colors. Use a clean sponge or brush in circular motions, not smearing the stripes to the sides, but rather pressing them into the skin. The edges should be completely seamless. Remember: the blending of contouring should be so well done that no one suspects you drew anything.
Conclusion: practice and courage
Contouring is a skill that improves over time. Don't be afraid to experiment in front of the mirror, try different textures and application forms. Start small: highlight your cheekbones and nose, observe how the perception of your face changes throughout the day. Gradually, you will learn to feel your anatomy and understand where to add shadows and where to add light. And remember: perfect contouring is not when it's visible, but when it exists, and no one suspects how you achieved it.
Photo provided by Alcor & Co LLC.
Advertisement. Alcor & Co LLC. INN 7729265128 letu.ru. Erid: 2SDnjco8355 The NIA "Nizhny Novgorod" has channels on Telegram and MAX. Subscribe to stay updated on the main events, exclusive materials, and timely information. Copyright © 1999—2025 NIA "Nizhny Novgorod". When reprinting, a hyperlink to NIA "Nizhny Novgorod" is mandatory. This resource may contain materials 18+
Другие Новости Нижнего (Н-Н-152)
 The Central Bank predicted a stabilization of the fuel situation by October.
News of Nizhny Novgorod
The Central Bank predicted a stabilization of the fuel situation by October.
News of Nizhny Novgorod
 Former striker of Dzerzhinsk's "Khimik" Alexander Kasyan has died.
News of Nizhny Novgorod
Nizhny Novgorod's "Torpedo" lost to "Dynamo" in overtime at the Moscow Mayor's Cup.
News of Nizhny Novgorod
Former striker of Dzerzhinsk's "Khimik" Alexander Kasyan has died.
News of Nizhny Novgorod
Nizhny Novgorod's "Torpedo" lost to "Dynamo" in overtime at the Moscow Mayor's Cup.
News of Nizhny Novgorod
 Gleb Nikitin visited the new building of secondary school No. 2 in Vorsma.
News of Nizhny Novgorod
Gleb Nikitin visited the new building of secondary school No. 2 in Vorsma.
News of Nizhny Novgorod
How to properly contour the face: a step-by-step guide for beginners
News of Nizhny Novgorod